先决条件: django的介绍和安装|django简介集2建立一个专案
Django的提供默认的管理界面, 可用于直接在模型上执行创建, 读取, 更新和删除操作。它从模型中读取解释并给出有关数据的信息的数据集, 以提供一个即时界面, 用户可以在其中调整应用程序的内容。这是一个内置模块, 旨在对用户执行与管理相关的工作。
激活和使用管理界面
默认情况下, 管理应用程序(django.contrib.admin)已启用, 并且已添加到settings.py文件中的INSTALLED_APPS列表中。

要在浏览器上访问此管理界面, 请在” localhost:8000/admin /”上输入”/admin /”, 并显示如下输出:
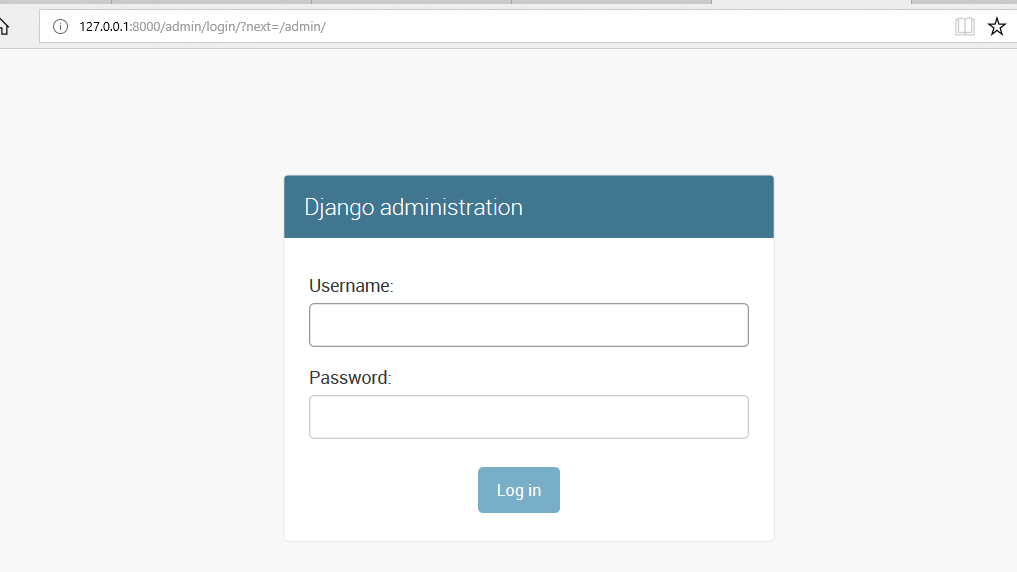
它提示输入登录详细信息, 如果以前没有创建登录ID, 则可以使用以下命令创建新的超级用户:
python manage.py createsuperuser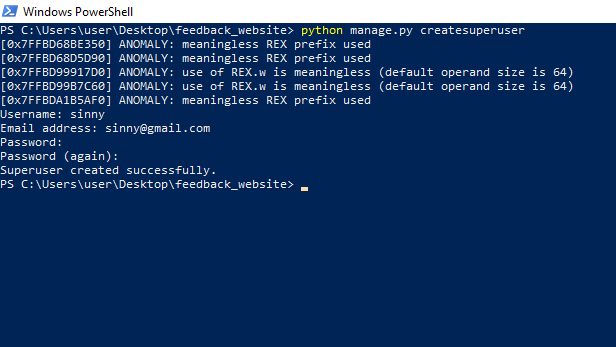
现在, 在启动Development Server之后, 可以使用下面给出的命令来完成管理员登录页面。
python manage.py runserver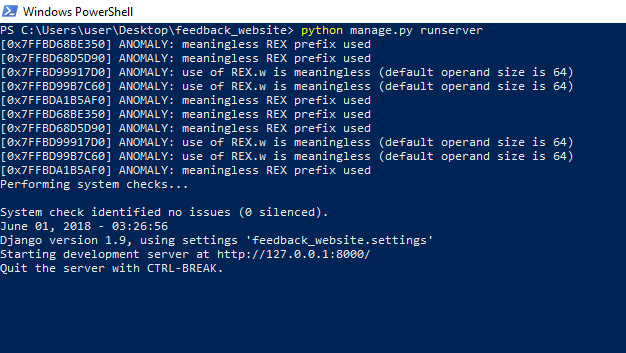
输入用户名和密码, 然后点击login。
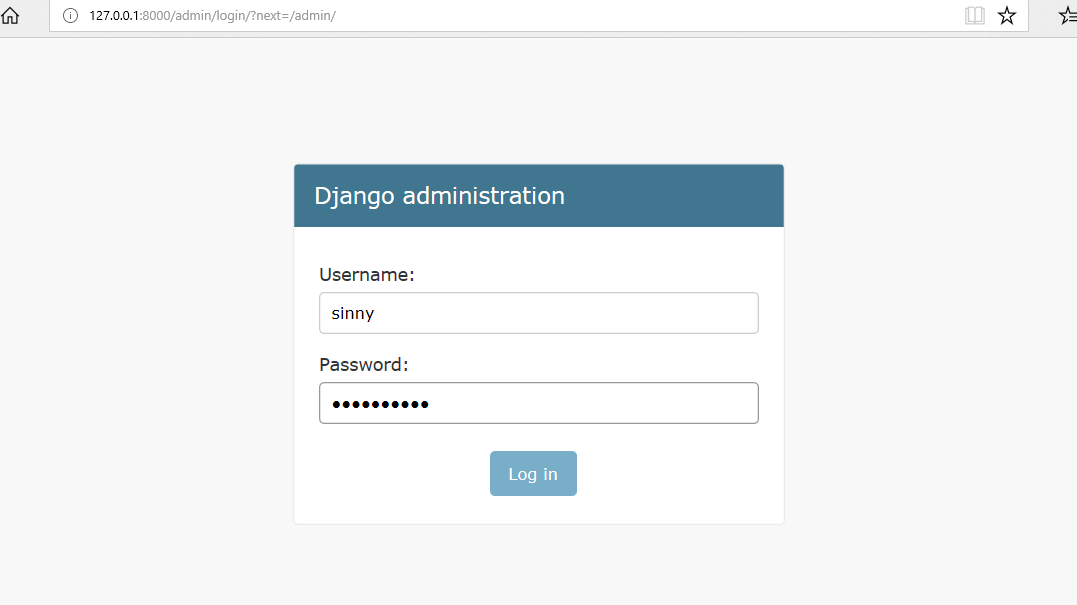
成功登录后, 将显示如下界面:。
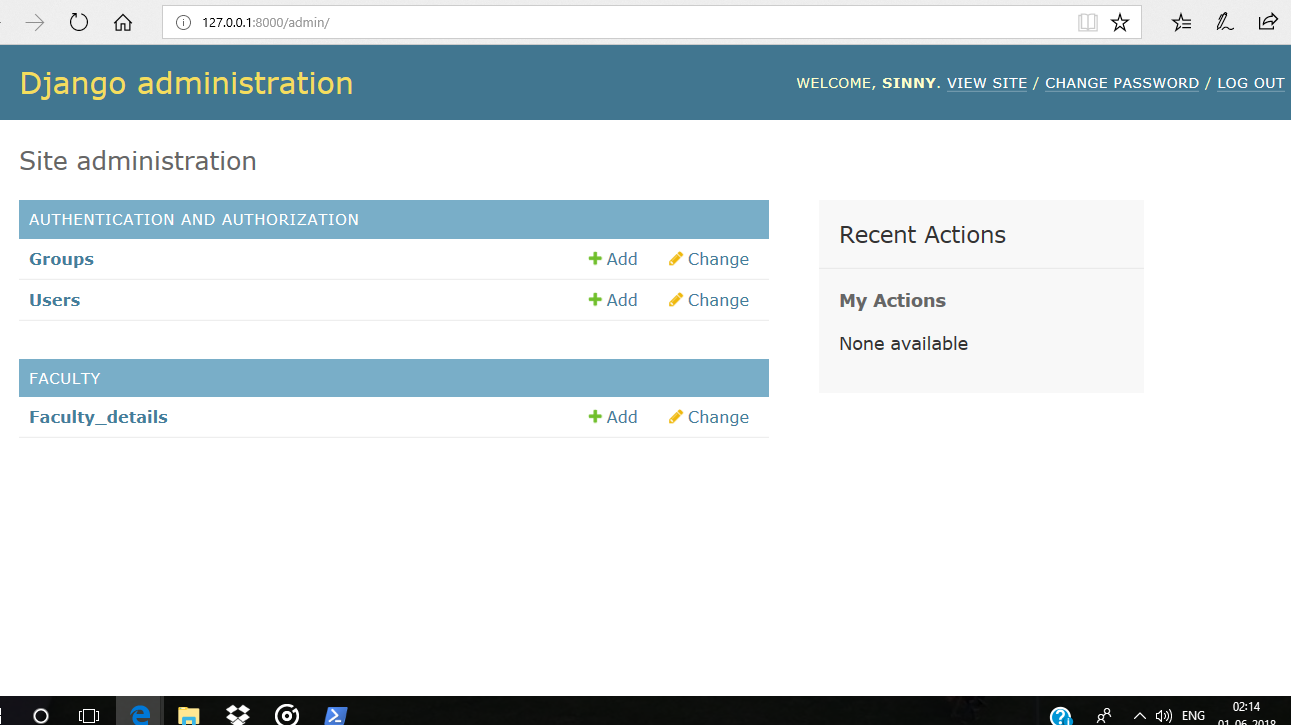
这就是所谓的Django Admin Dashboard, 可以在其中添加, 删除和更新属于任何已注册模型的数据。
首先, 你的面试准备可通过以下方式增强你的数据结构概念:Python DS课程。
来源:
https://www.srcmini02.com/70468.html