在android开发中, 我们需要一个android设备来运行该应用程序。因此, Android Studio的开发人员提供了一个安装android虚拟设备以运行它的选项。在本文中, 我们将学习如何安装Android虚拟设备(AVD)。
请按照以下步骤进行安装Android虚拟设备.
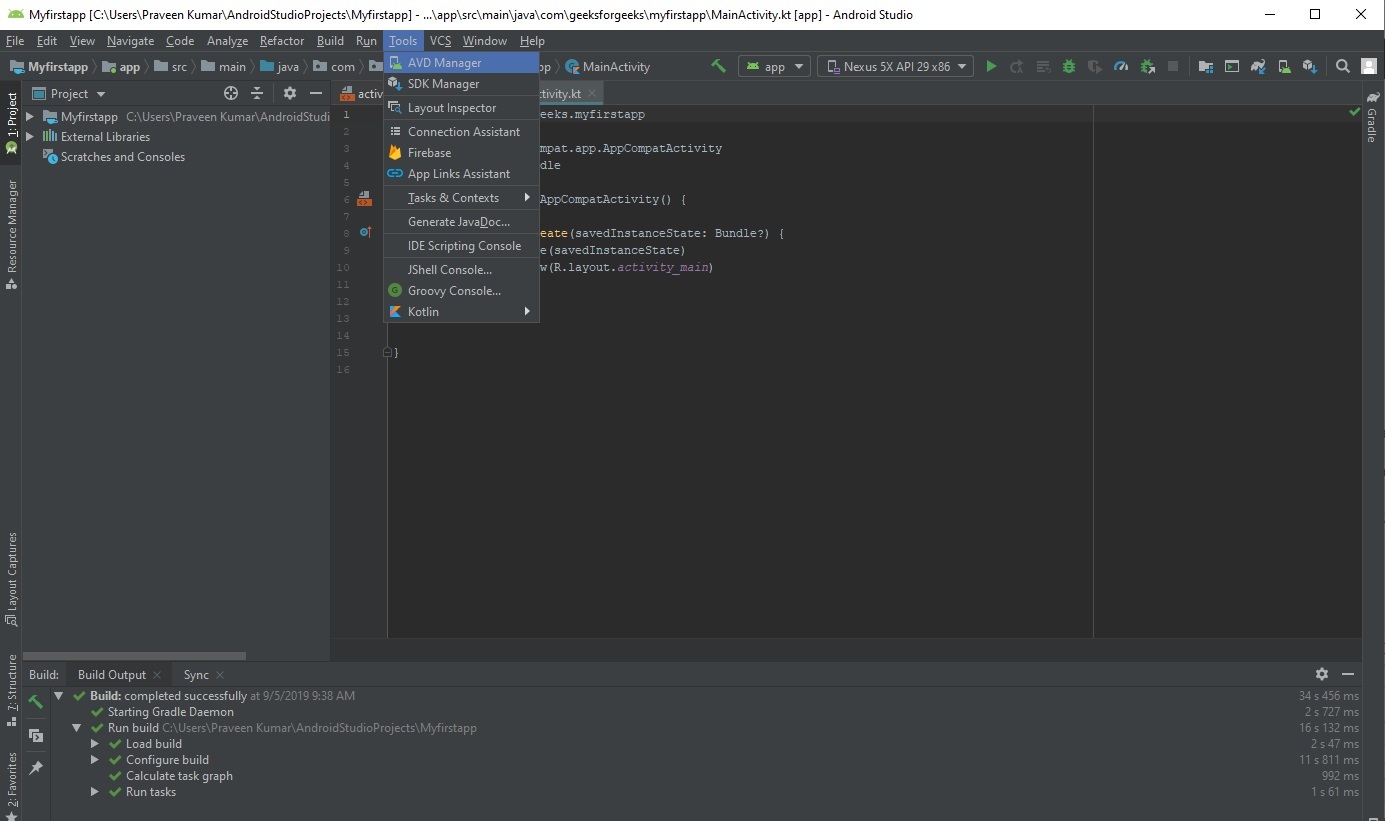
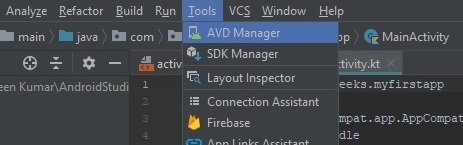
第1步:转到工具> > AVD管理器。
↓
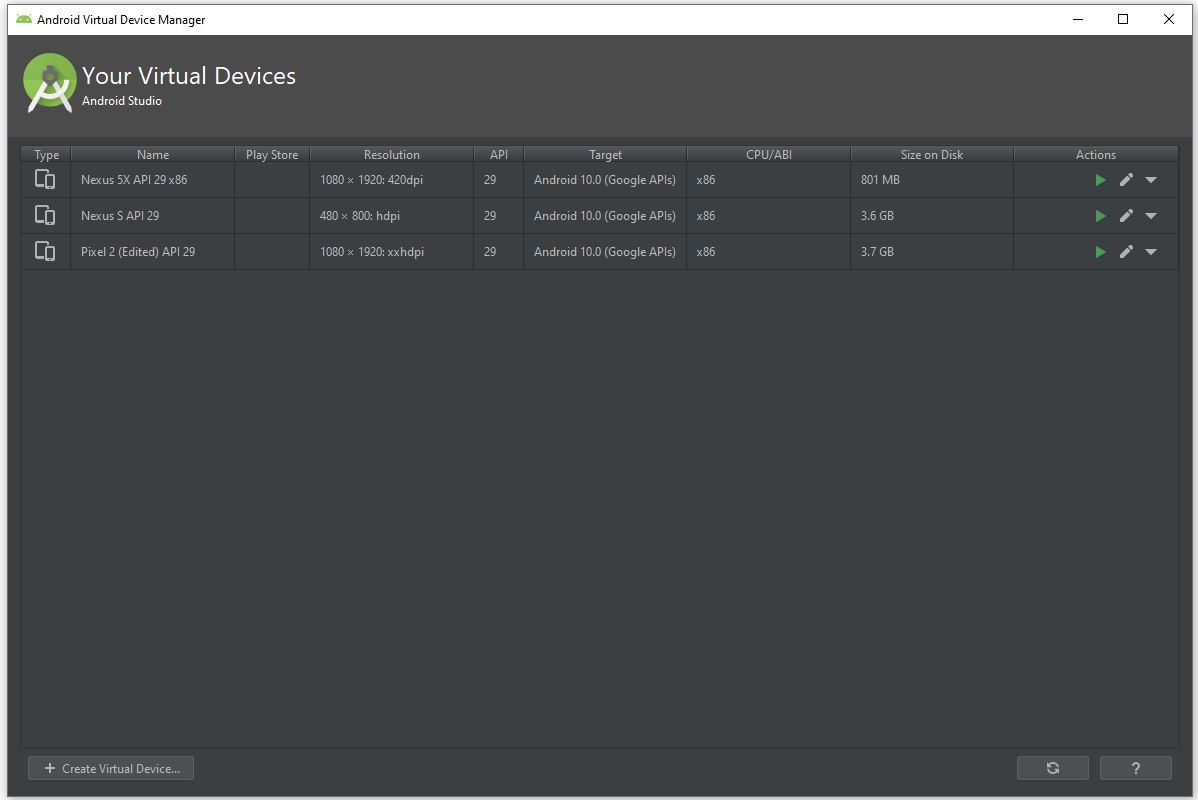
第2步:现在点击创建虚拟设备.
第三步:
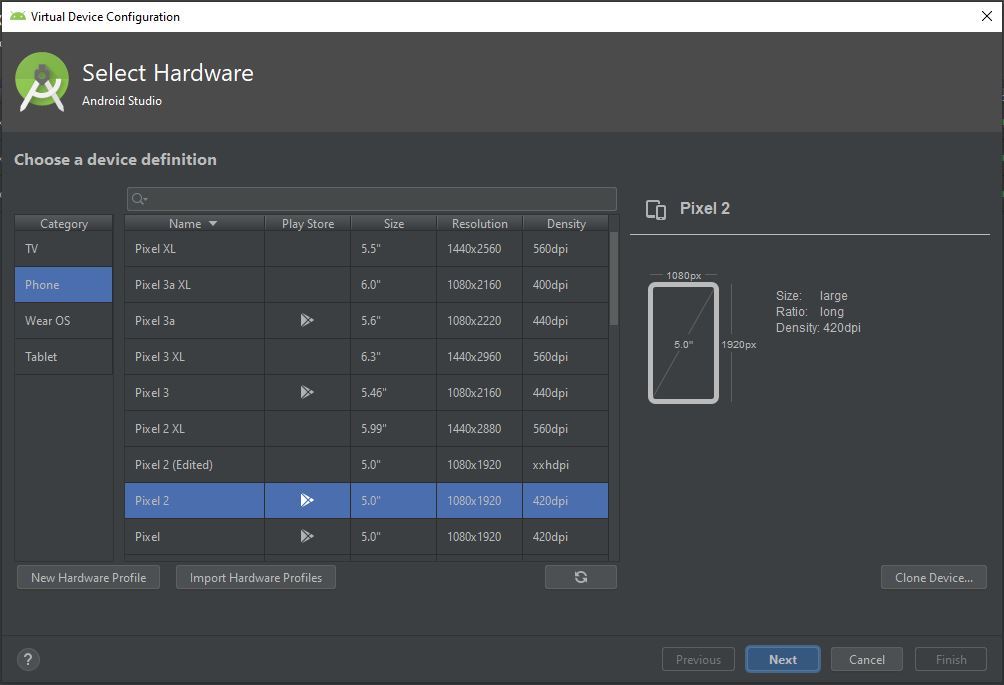
将会出现一个弹出窗口, 在这里我们选择类别Phone, 因为我们正在为移动设备创建android应用, 然后选择要安装的手机型号。
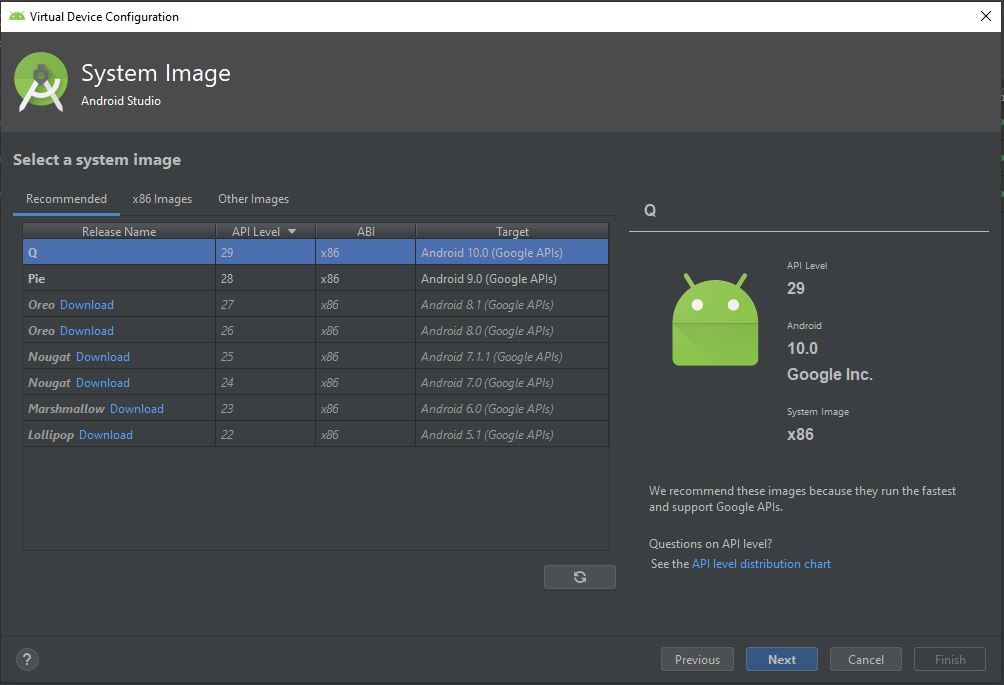
步骤4:在这里我们选择android版本下载,如Q,Pie,Oreo等,点击下一步按钮。
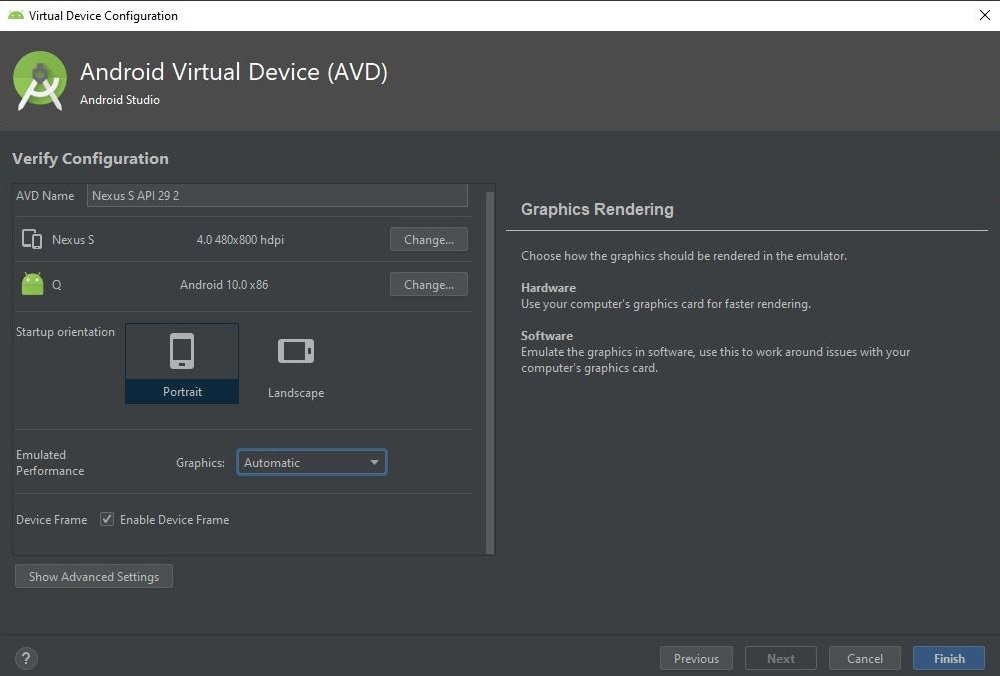
步骤5:点击finish按钮以完成安装。
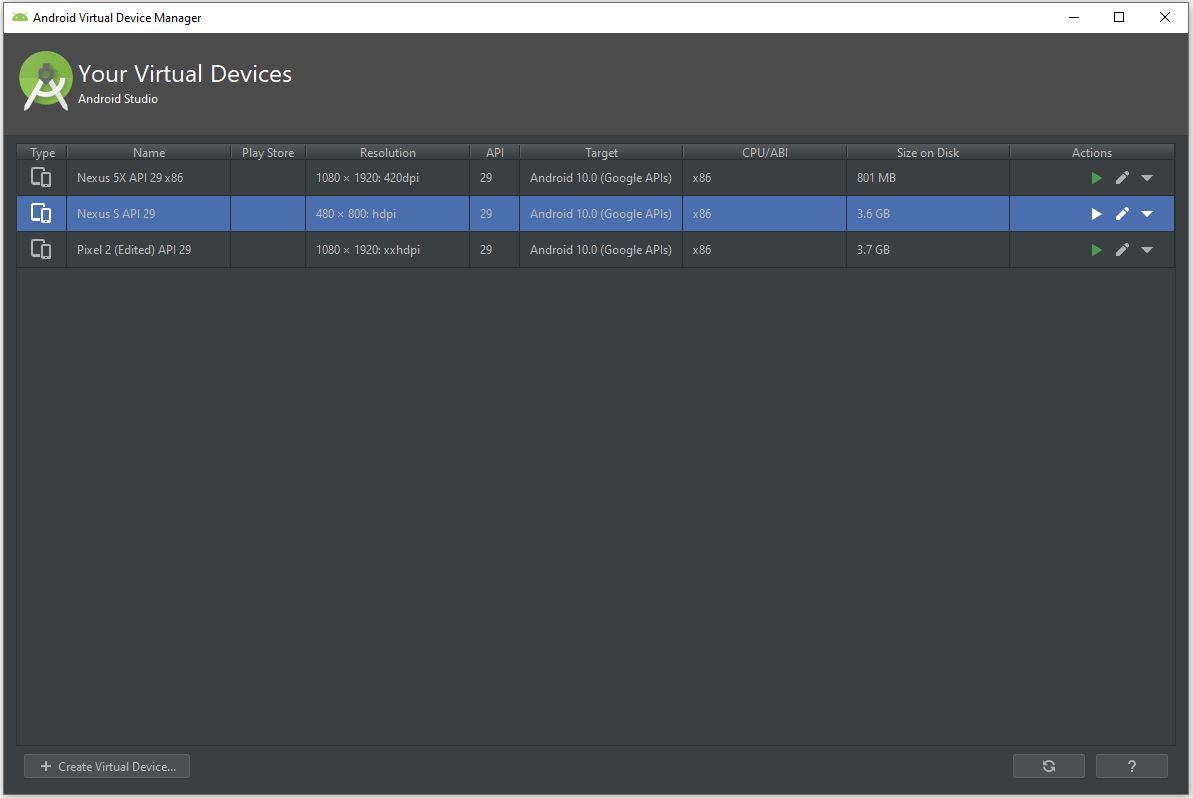
步骤6:现在我们可以选择要作为仿真器运行的虚拟设备, 可以单击运行图标。
步骤7:
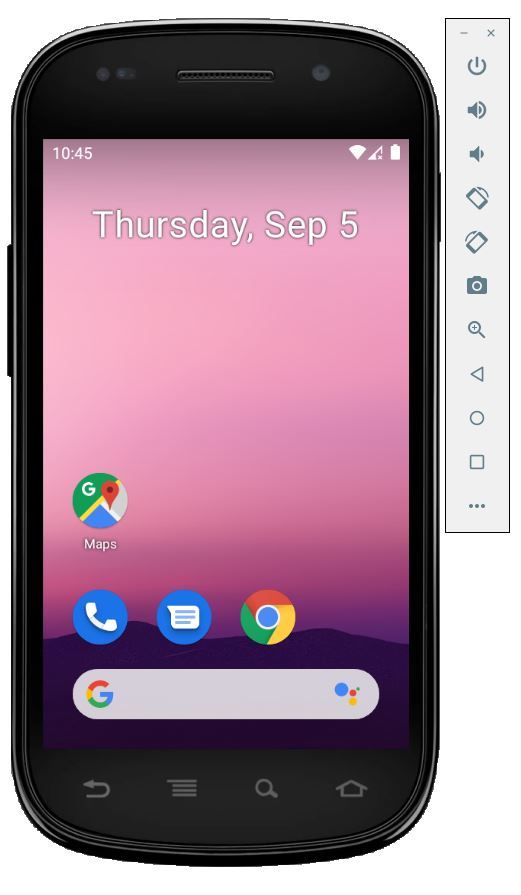
终于, 我们的虚拟设备可以运行我们的android应用了。
来源:
https://www.srcmini02.com/68593.html