我们将创建一个表单以从用户那里获取数据。
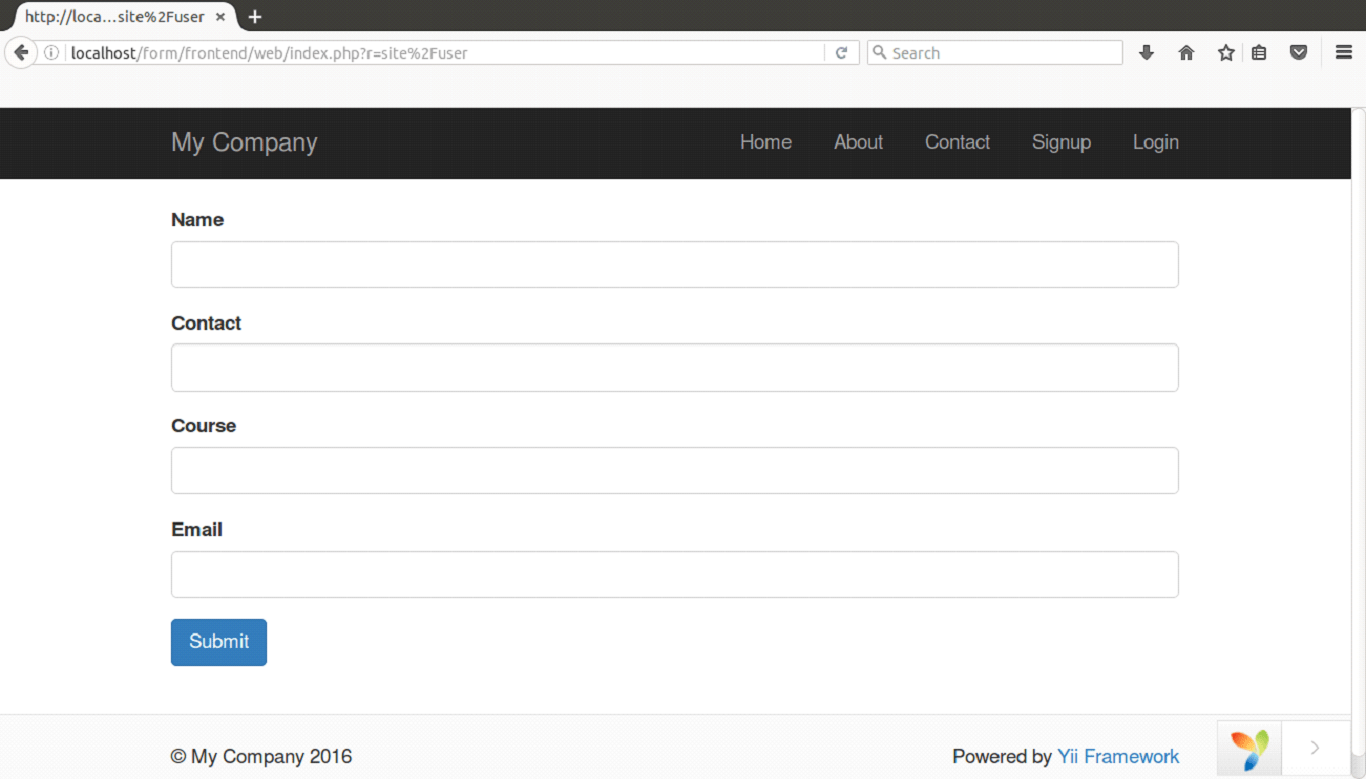
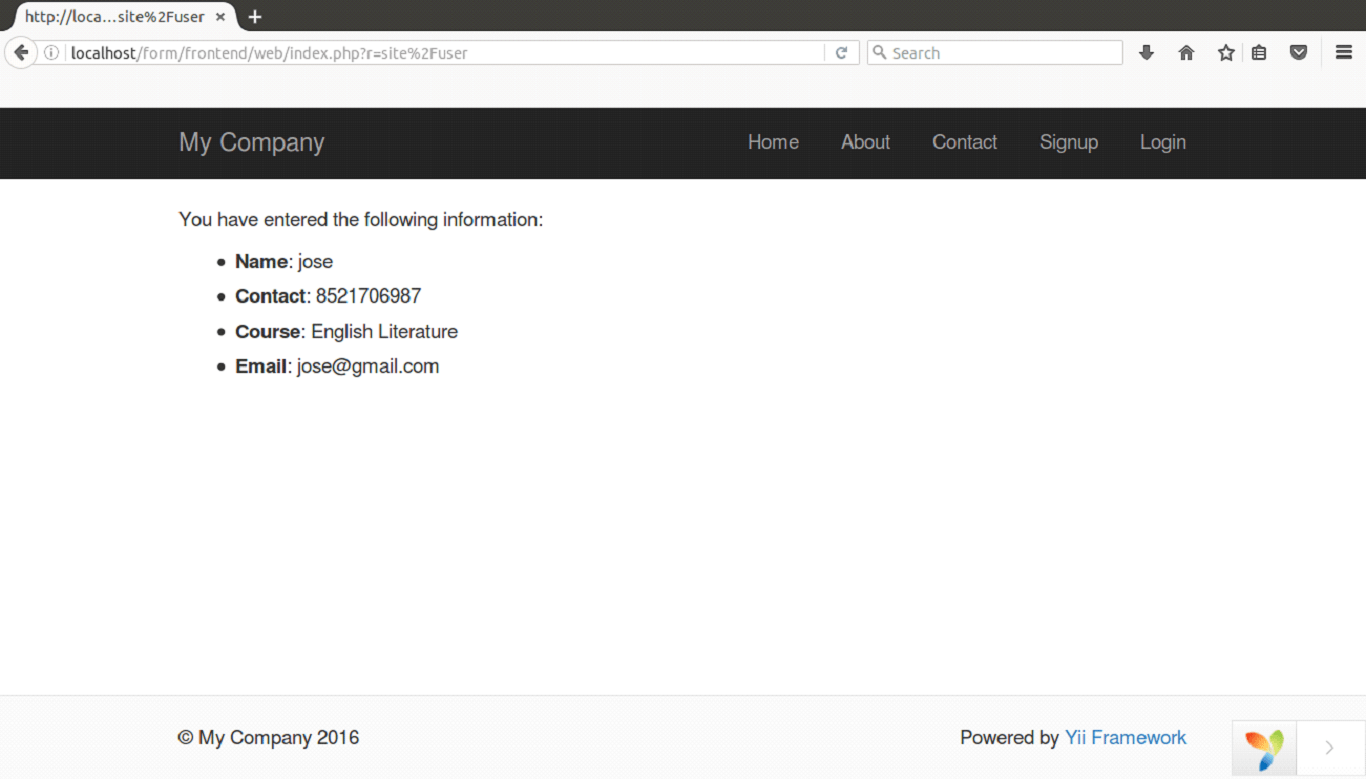
在我们的表格中, 我们将为姓名, 联系方式, 课程和电子邮件创建四个输入字段。页面将向后显示输入的值。
步骤1创建模型文件UserForm.php
在这里, 我们将创建一个模型文件, 以在models / UserForm.php中向用户请求数据。
<?php

	namespace frontend\models;

	use Yii;
	use yii\base\Model;

	class UserForm extends Model
	{
    	public $name;
    	public $contact;
    	public $course;
    	public $email;

    	public function rules()
    	{
        	return [
            	[['name', 'contact', 'course', 'email'], 'required'], ['email', 'email'], ];
    	}
	}
看上面的代码, 函数rules()设置为验证来自用户的数据。
步骤2建立动作
在controllers / SiteController.php中, 我们将创建一个动作用户。
<?php
	namespace frontend\controllers;

	use Yii;
	use yii\base\InvalidParamException;
	use yii\web\BadRequestHttpException;
	use yii\web\Controller;
	use yii\filters\VerbFilter;
	use yii\filters\AccessControl;
	use common\models\LoginForm;
	use frontend\models\PasswordResetRequestForm;
	use frontend\models\ResetPasswordForm;
	use frontend\models\SignupForm;
	use frontend\models\ContactForm;
	use frontend\models\UserForm;
	/**
 	* Site controller
 	*/
	class SiteController extends Controller
	{
    	/**
     	* @inheritdoc
     	*/
	public function actionUser()
    	{
        	$model = new UserForm();

        	if ($model->load(Yii::$app->request->post()) && $model->validate()) {
            	// valid data received in $model

            	// do something meaningful here about $model ...

            	return $this->render('user-confirm', ['model' => $model]);
        	} else {
            	// either the page is initially displayed or there is some validation error
            	return $this->render('user', ['model' => $model]);
        	}
    	}
看上面的代码, action从用户提供的$ _POST方法接收数据。动作validate()将确保输入的数据有效。
如果数据有效, 则操作将呈现给用户确认的视图页面以确认提交。否则, 它将转到其他部分, 说明验证中的错误。
步骤3建立检视
将在视图目录中创建两个文件。
一种是views / site / user-confirm.php中的user-confirm.php文件。
<?php
	use yii\helpers\Html;
	?>
	<p>You have entered the following information:</p>
	<ul>
    	<li><label>Name</label>: <?= Html::encode($model->name) ?></li>
    	<li><label>Contact</label>: <?= Html::encode($model->contact) ?></li>
    	<li><label>Course</label>: <?= Html::encode($model->course) ?></li>
   	 <li><label>Email</label>: <?= Html::encode($model->email) ?></li>
	</ul>
其他是views / site / user.php中的user.php文件。
<?php
	use yii\helpers\Html;
	use yii\widgets\ActiveForm;
	?>
	<?php $form = ActiveForm::begin(); ?>

    	<?= $form->field($model, 'name') ?>

    	<?= $form->field($model, 'contact') ?>

     	<?= $form->field($model, 'course') ?>

      	<?= $form->field($model, 'email') ?>

    	<div class="form-group">
        	<?= Html::submitButton('Submit', ['class' => 'btn btn-primary']) ?>
    	</div>

	<?php ActiveForm::end(); ?>
看上面的代码, ActiveForm小部件用于创建HTML表单。 begin()和end()小部件分别表示HTML表单的开始和结束标签。
步骤4在浏览器上运行
在浏览器中输入以下URL以运行该表单,
http://localhost/form/frontend/web/index.php?r = site%2Fuser

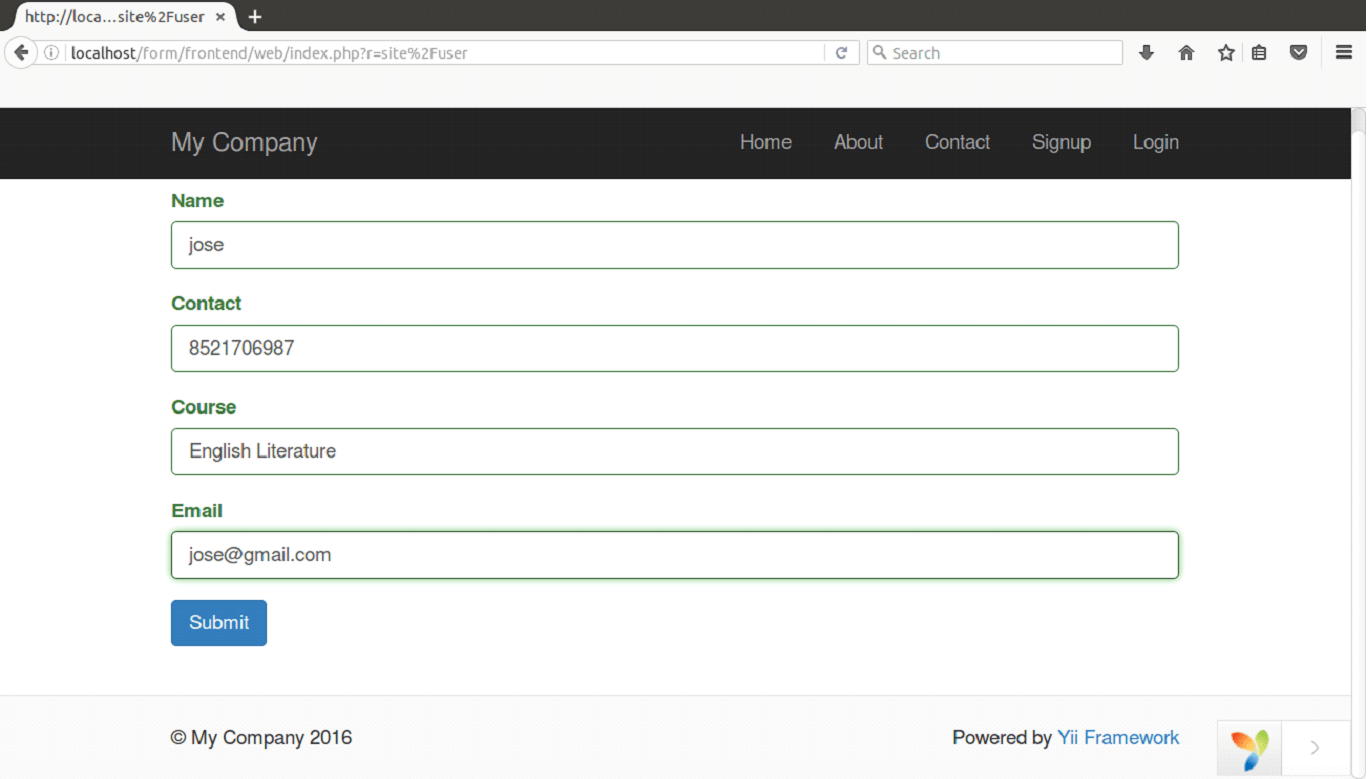
现在, 我们将在上面的表格中填写详细信息。

单击提交按钮后, 我们将看到经过验证的信息。


