Eclipse是用于开发JavaSE和JavaEE(J2EE)应用程序的开源思想。你可以从Eclipse网站http://www.eclipse.org/downloads/下载Eclipse IDE。
你需要为JavaEE开发人员下载eclipse ide。
在eclipse ide中创建servlet示例, 可以节省很多工作。创建servlet示例非常容易。让我们看一下创建第一个servlet示例所需遵循的步骤。
- 创建一个动态Web项目
- 创建一个servlet
- 添加servlet-api.jar文件
- 运行servlet
下载此示例(在Eclipse中开发)
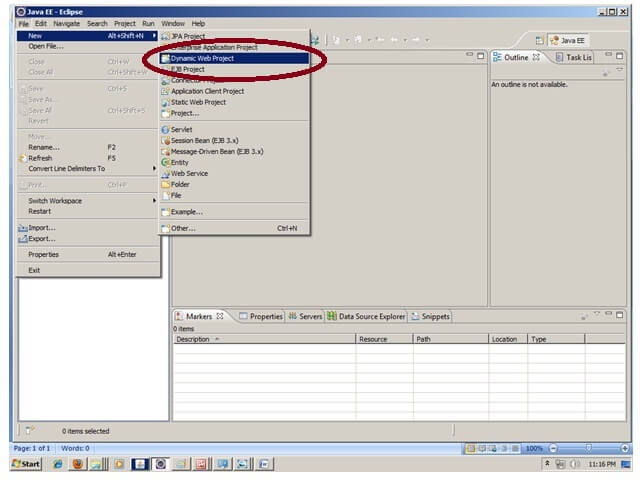
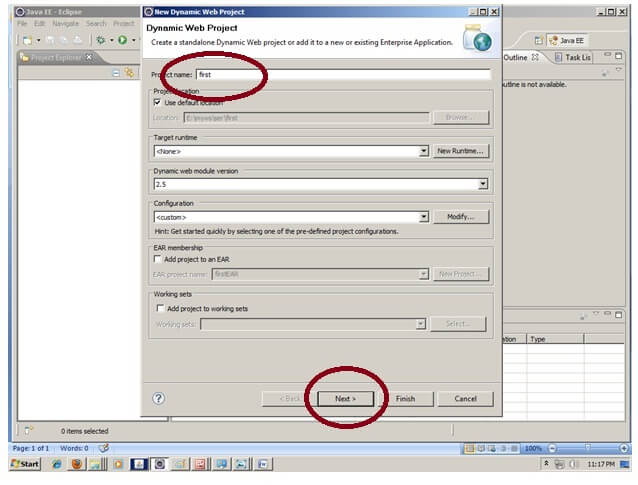
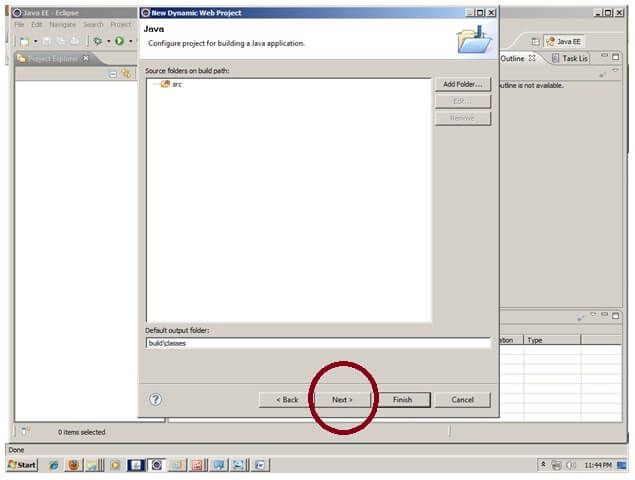
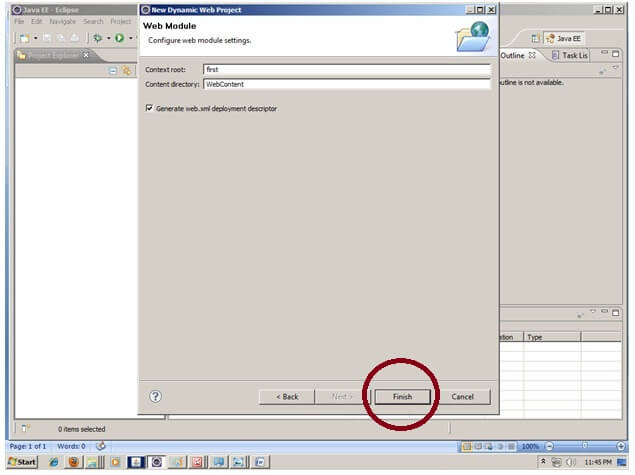
1)创建动态Web项目:
要创建动态Web项目, 请单击文件菜单->新建->项目。-> Web->动态Web项目->输入项目名称, 例如首先->完成。

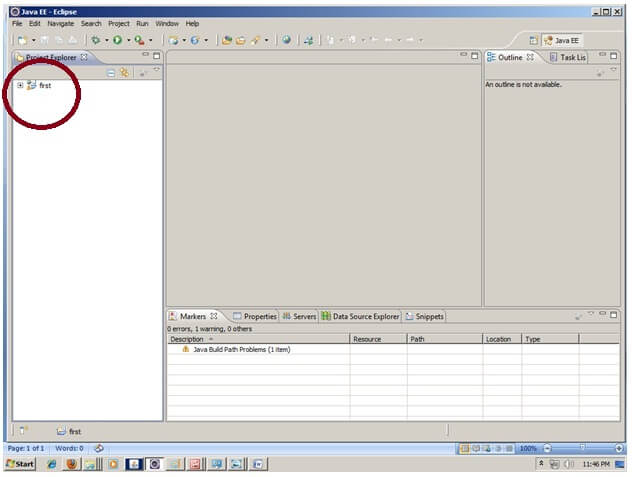
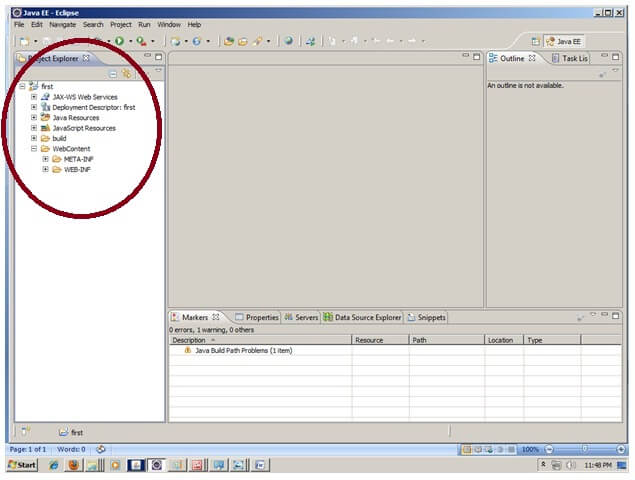
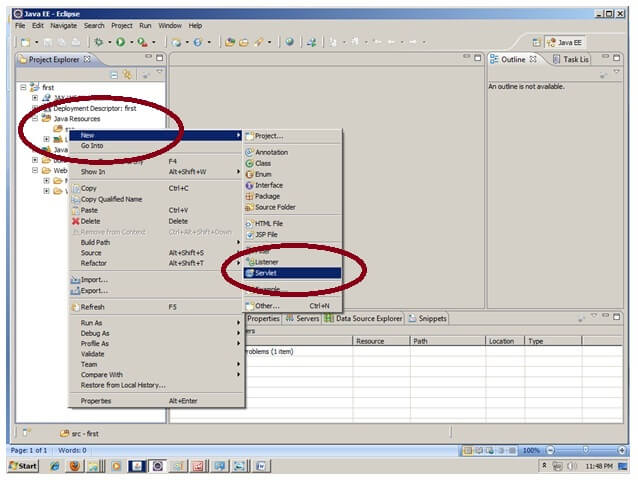
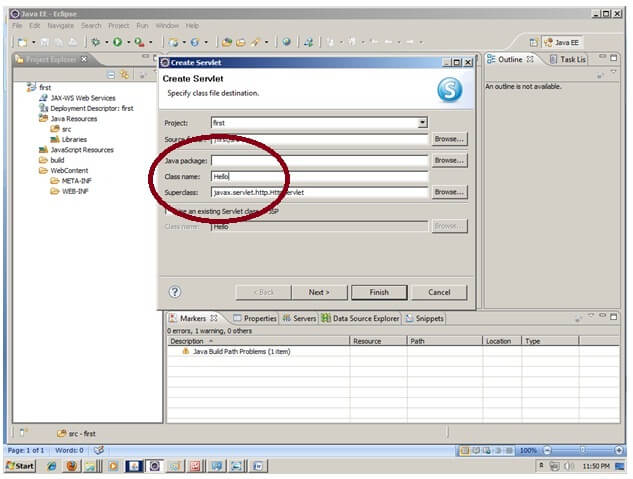
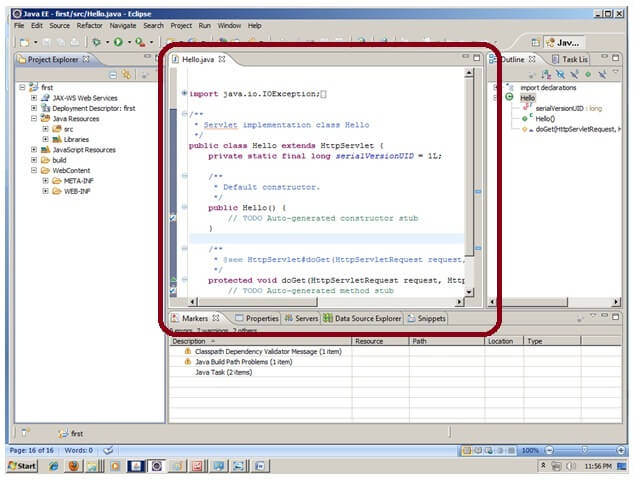
2)在Eclipse IDE中创建servlet:
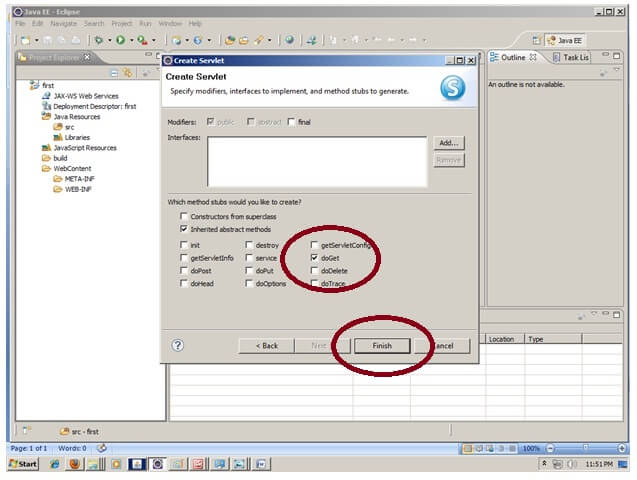
要创建servlet, 请通过单击+图标->探索Java资源->右键单击src->新建-> servlet->输入你的servlet名称来浏览项目。你好->取消选中所有复选框, 但doGet()->下一步->完成。

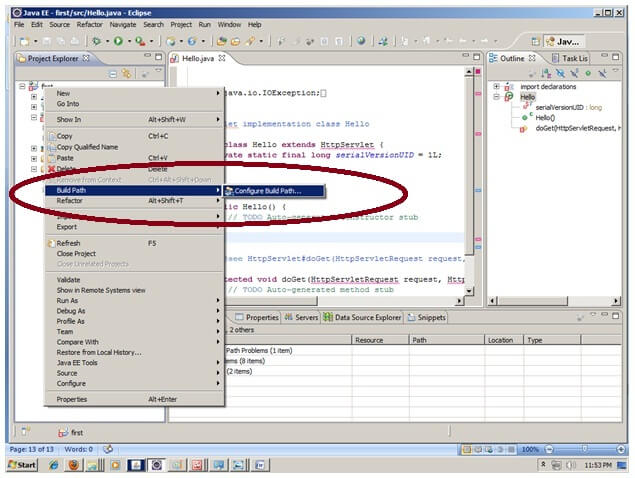
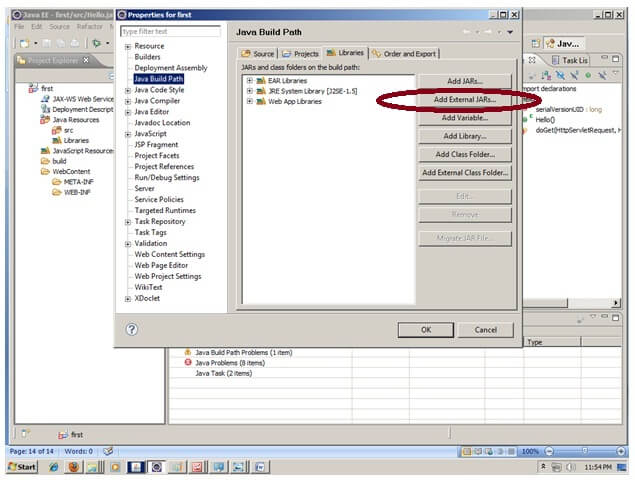
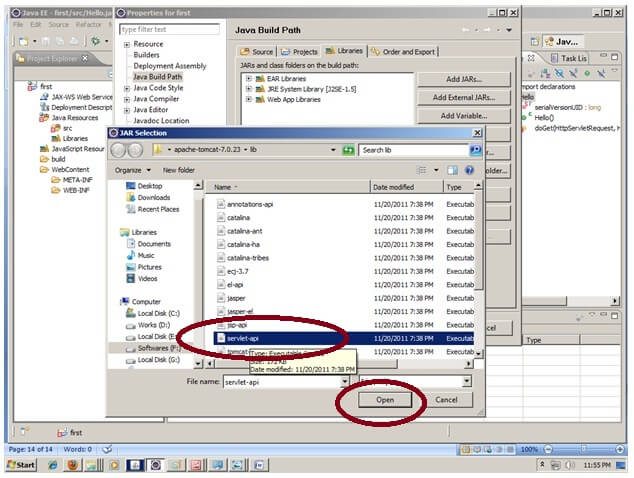
3)在Eclipse IDE中添加jar文件:
| 要添加jar文件, 请右键单击你的项目->构建路径->配置构建路径->单击Java构建路径中的库选项卡->单击添加外部JAR按钮->选择tomcat下的servlet-api.jar文件/ lib->好的。 |
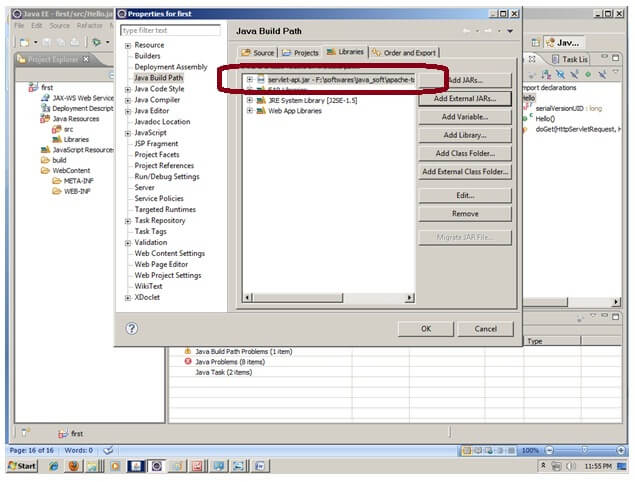
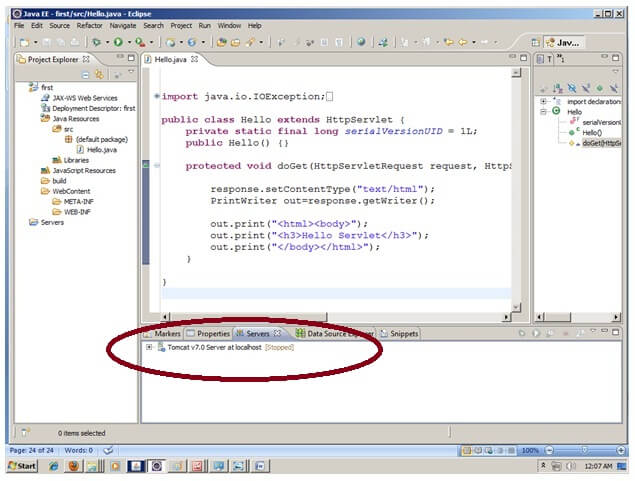
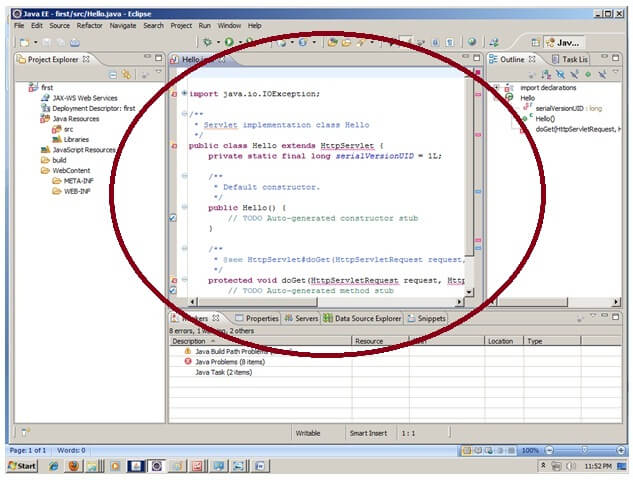
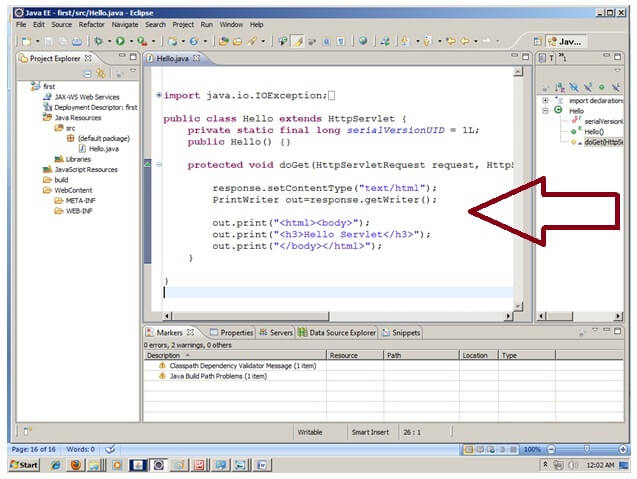
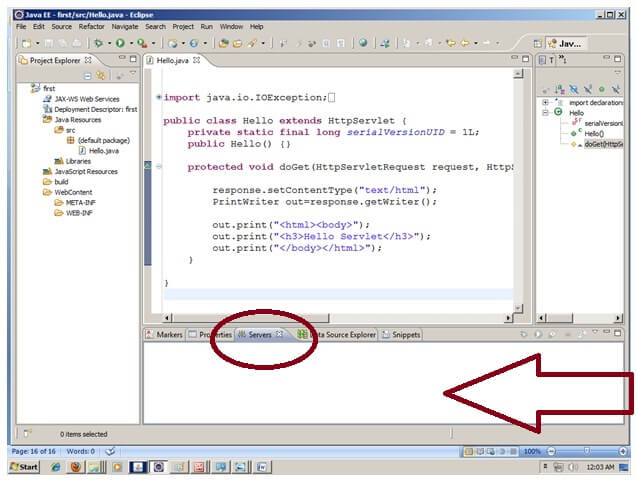
| 现在已经创建了servlet, 让我们编写第一个servlet代码。 |
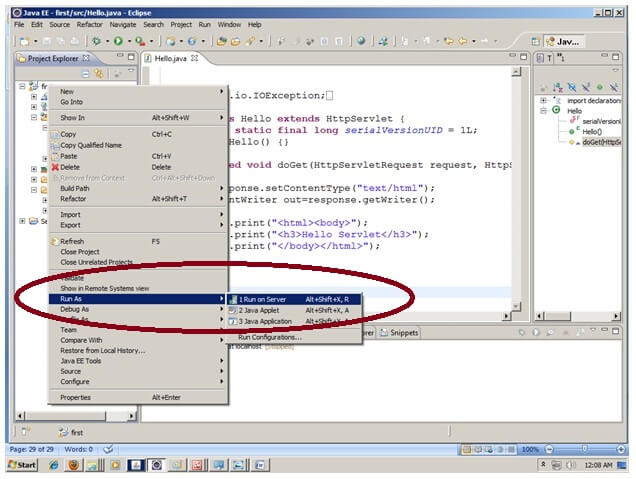
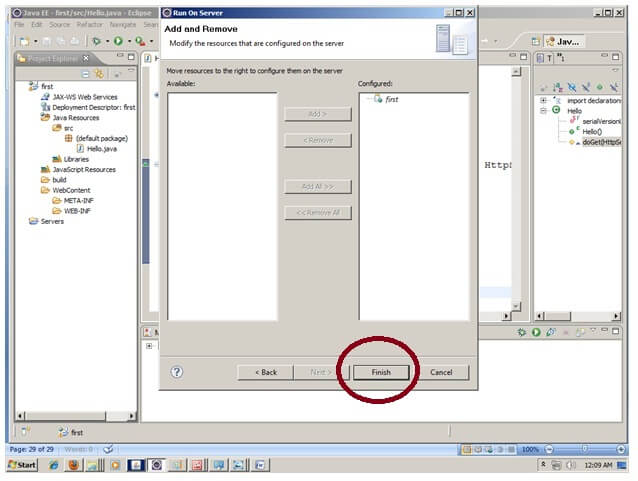
4)启动服务器并部署项目:
要一步启动服务器并部署项目, 请右键单击你的项目->运行方式->在服务器上运行->选择tomcat服务器->下一步-> addAll->完成。
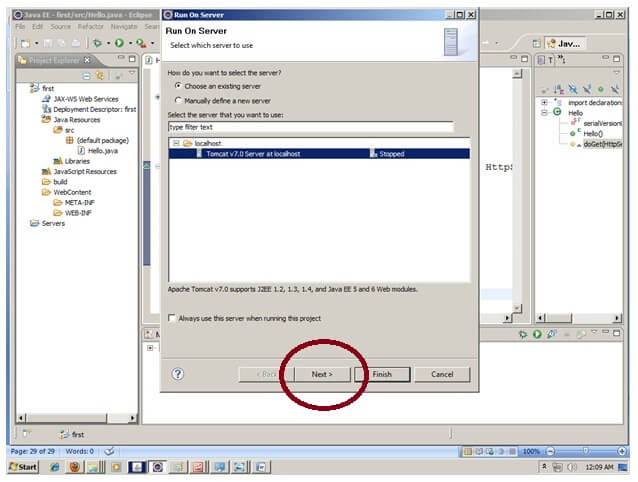
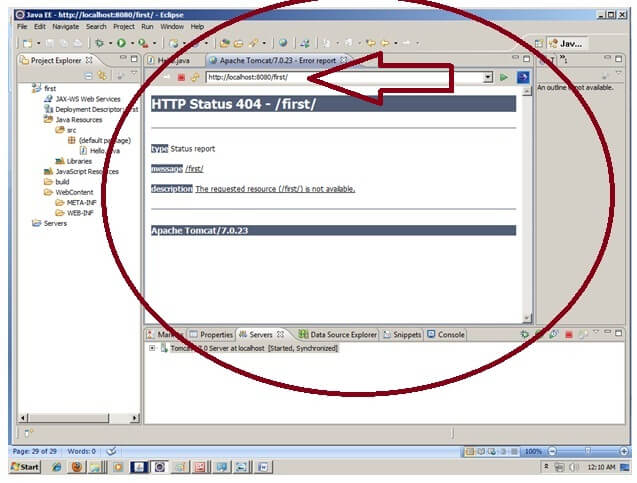
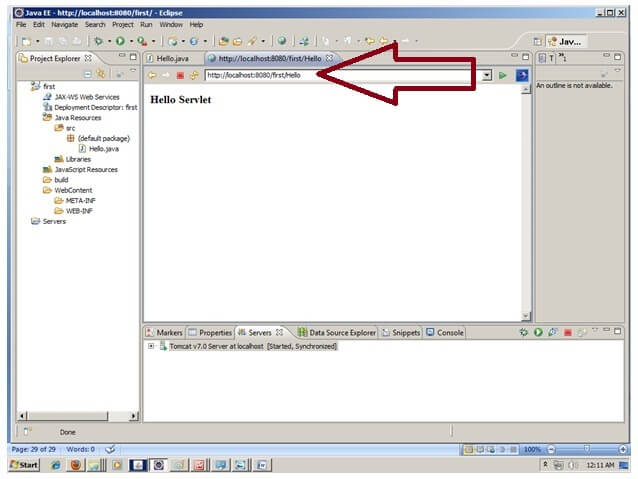
现在, tomcat服务器已启动, 项目已部署。要访问servlet, 请在浏览器的URL栏中输入URL模式名称。在这种情况下, 你好, 然后输入。
下载此示例
如何在Eclipse中配置tomcat服务器? (一次要求)
如果你是第一次使用Eclipse IDE, 则需要先配置tomcat服务器。
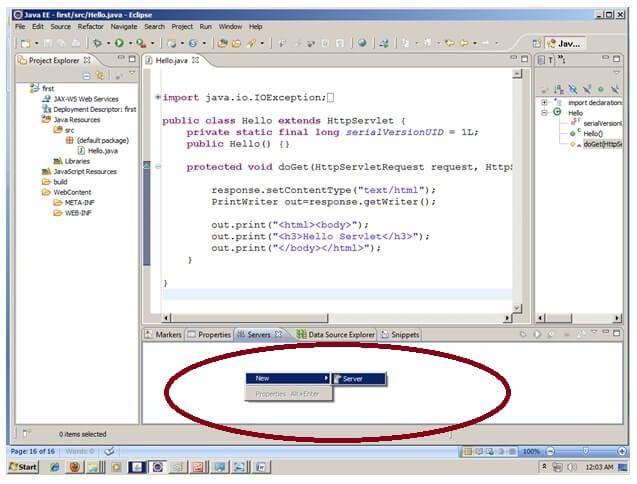
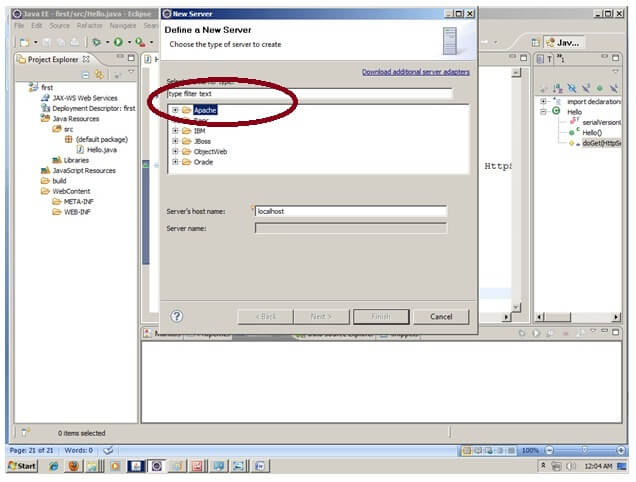
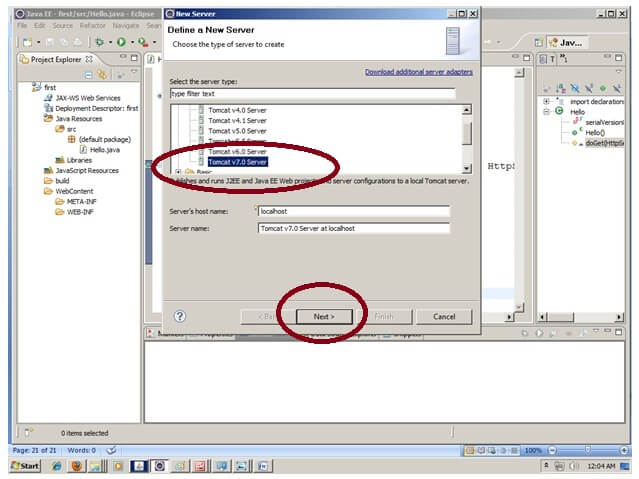
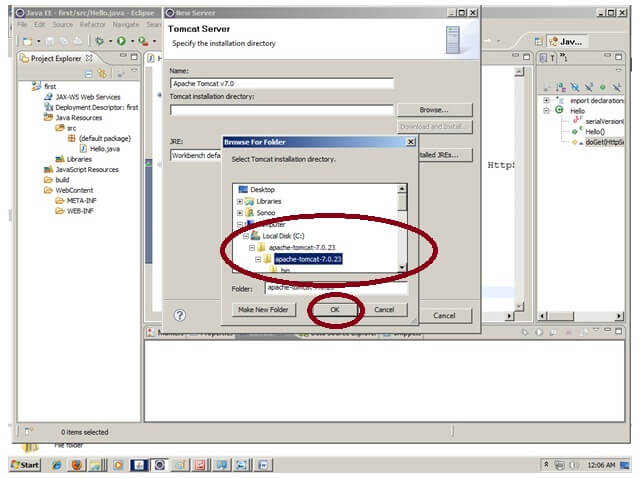
要在Eclipse IDE中配置tomcat服务器, 请在IDE底部单击服务器选项卡->右键单击空白区域->新建->服务器->选择tomcat, 然后选择其版本->下一个->单击浏览按钮- >在bin-> next-> addAll-> Finish之前, 选择apache tomcat根文件夹。

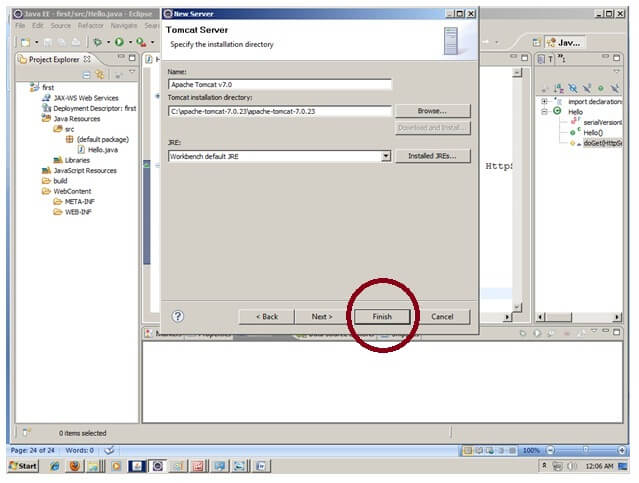
| 现在, tomcat7服务器已在Eclipse IDE中配置。 |