众所周知, OpenCV是一个广泛使用的图像处理库。它提供了广泛的图像处理意识。让我们看看如何使用OpenCV使用多张图片创建视频。
安装以下库:PIL cv2
另外, 在运行代码之前检查路径, 否则你将充满错误。
这个怎么运作 ?
使用PIL库,我们正在打开图像并调整它们的平均高度和平均宽度,因为将使用cv2库创建的视频需要相同的高度和宽度的输入图像。
调整大小的图像包含在一个数组中,视频的帧设置为均值高度和均值宽度。然后通过循环,我们将每个图像附加到那个帧。
下面是实现:
# importing libraries
import os
import cv2
from PIL import Image
# Checking the current directory path
print (os.getcwd())
# Folder which contains all the images
# from which video is to be generated
os.chdir( "C:\\Python\\Geekfolder2" )
path = "C:\\Python\\Geekfolder2"
mean_height = 0
mean_width = 0
num_of_images = len (os.listdir( '.' ))
# print(num_of_images)
for file in os.listdir( '.' ):
im = Image. open (os.path.join(path, file ))
width, height = im.size
mean_width + = width
mean_height + = height
# im.show() # uncomment this for displaying the image
# Finding the mean height and width of all images.
# This is required because the video frame needs
# to be set with same width and height. Otherwise
# images not equal to that width height will not get
# embedded into the video
mean_width = int (mean_width /num_of_images)
mean_height = int (mean_height /num_of_images)
# print(mean_height)
# print(mean_width)
# Resizing of the images to give
# them same width and height
for file in os.listdir( '.' ):
if file .endswith( ".jpg" ) or file .endswith( ".jpeg" ) or file .endswith( "png" ):
# opening image using PIL Image
im = Image. open (os.path.join(path, file ))
# im.size includes the height and width of image
width, height = im.size
print (width, height)
# resizing
imResize = im.resize((mean_width, mean_height), Image.ANTIALIAS)
imResize.save( file , 'JPEG' , quality = 95 ) # setting quality
# printing each resized image name
print (im.filename.split( '\\' )[ - 1 ], " is resized" )
# Video Generating function
def generate_video():
image_folder = '.' # make sure to use your folder
video_name = 'mygeneratedvideo.avi'
os.chdir( "C:\\Python\\Geekfolder2" )
images = ![]() # Array images should only consider
# the image files ignoring others if any
print (images)
frame = cv2.imread(os.path.join(image_folder, images[ 0 ]))
# setting the frame width, height width
# the width, height of first image
height, width, layers = frame.shape
video = cv2.VideoWriter(video_name, 0 , 1 , (width, height))
# Appending the images to the video one by one
for image in images:
video.write(cv2.imread(os.path.join(image_folder, image)))
# Deallocating memories taken for window creation
cv2.destroyAllWindows()
video.release() # releasing the video generated
# Calling the generate_video function
generate_video()
# Array images should only consider
# the image files ignoring others if any
print (images)
frame = cv2.imread(os.path.join(image_folder, images[ 0 ]))
# setting the frame width, height width
# the width, height of first image
height, width, layers = frame.shape
video = cv2.VideoWriter(video_name, 0 , 1 , (width, height))
# Appending the images to the video one by one
for image in images:
video.write(cv2.imread(os.path.join(image_folder, image)))
# Deallocating memories taken for window creation
cv2.destroyAllWindows()
video.release() # releasing the video generated
# Calling the generate_video function
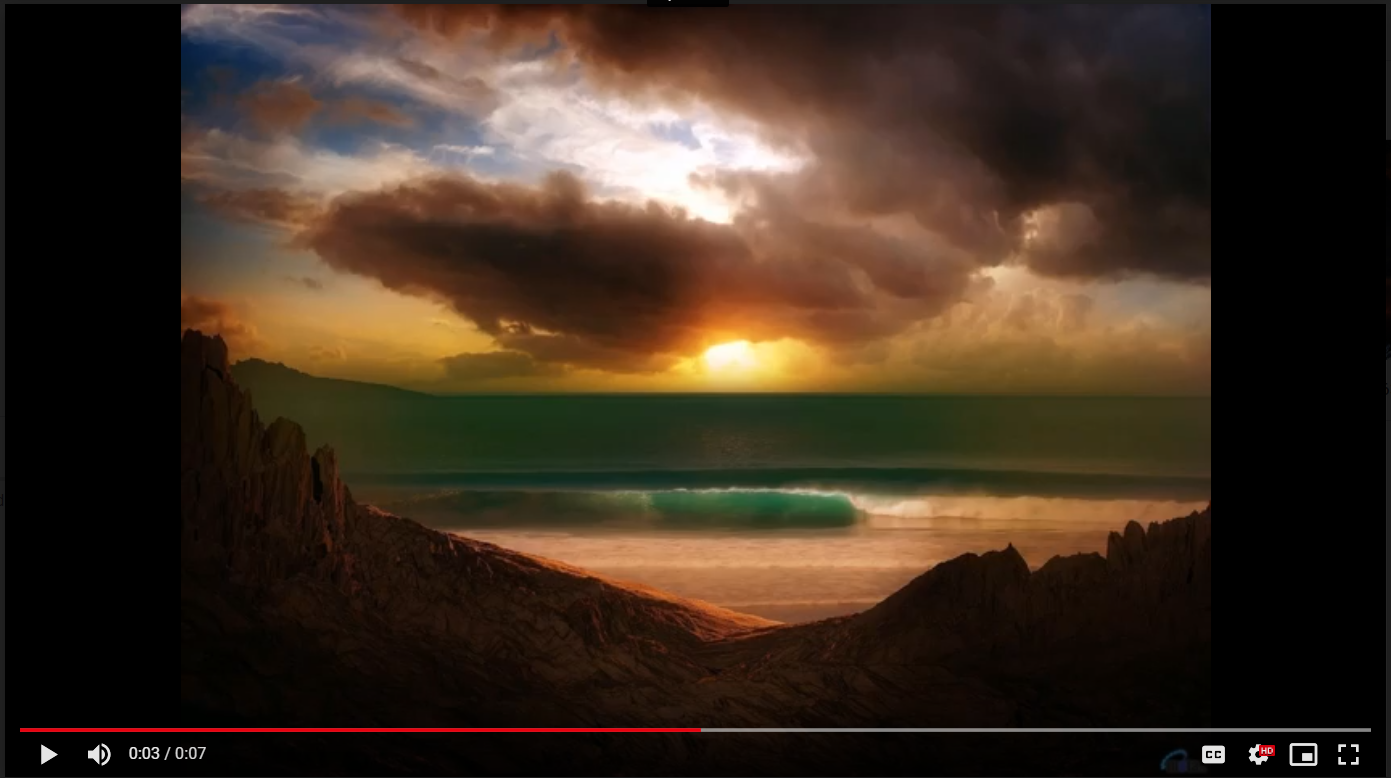
generate_video()输出如下:

获取指向所使用的输入图像和输出视频的链接这里(https://drive.google.com/drive/folders/14Z3iASRYhob9cDohpVU-pcN9LgZ2Imqp?usp=sharing).
更好的选择:
如果我们想要更多的效果,声音和视频,那么最好使用ffmpeg python库,它提供了这种功能。
首先, 你的面试准备可通过以下方式增强你的数据结构概念:Python DS课程。
来源:
https://www.srcmini02.com/70037.html


